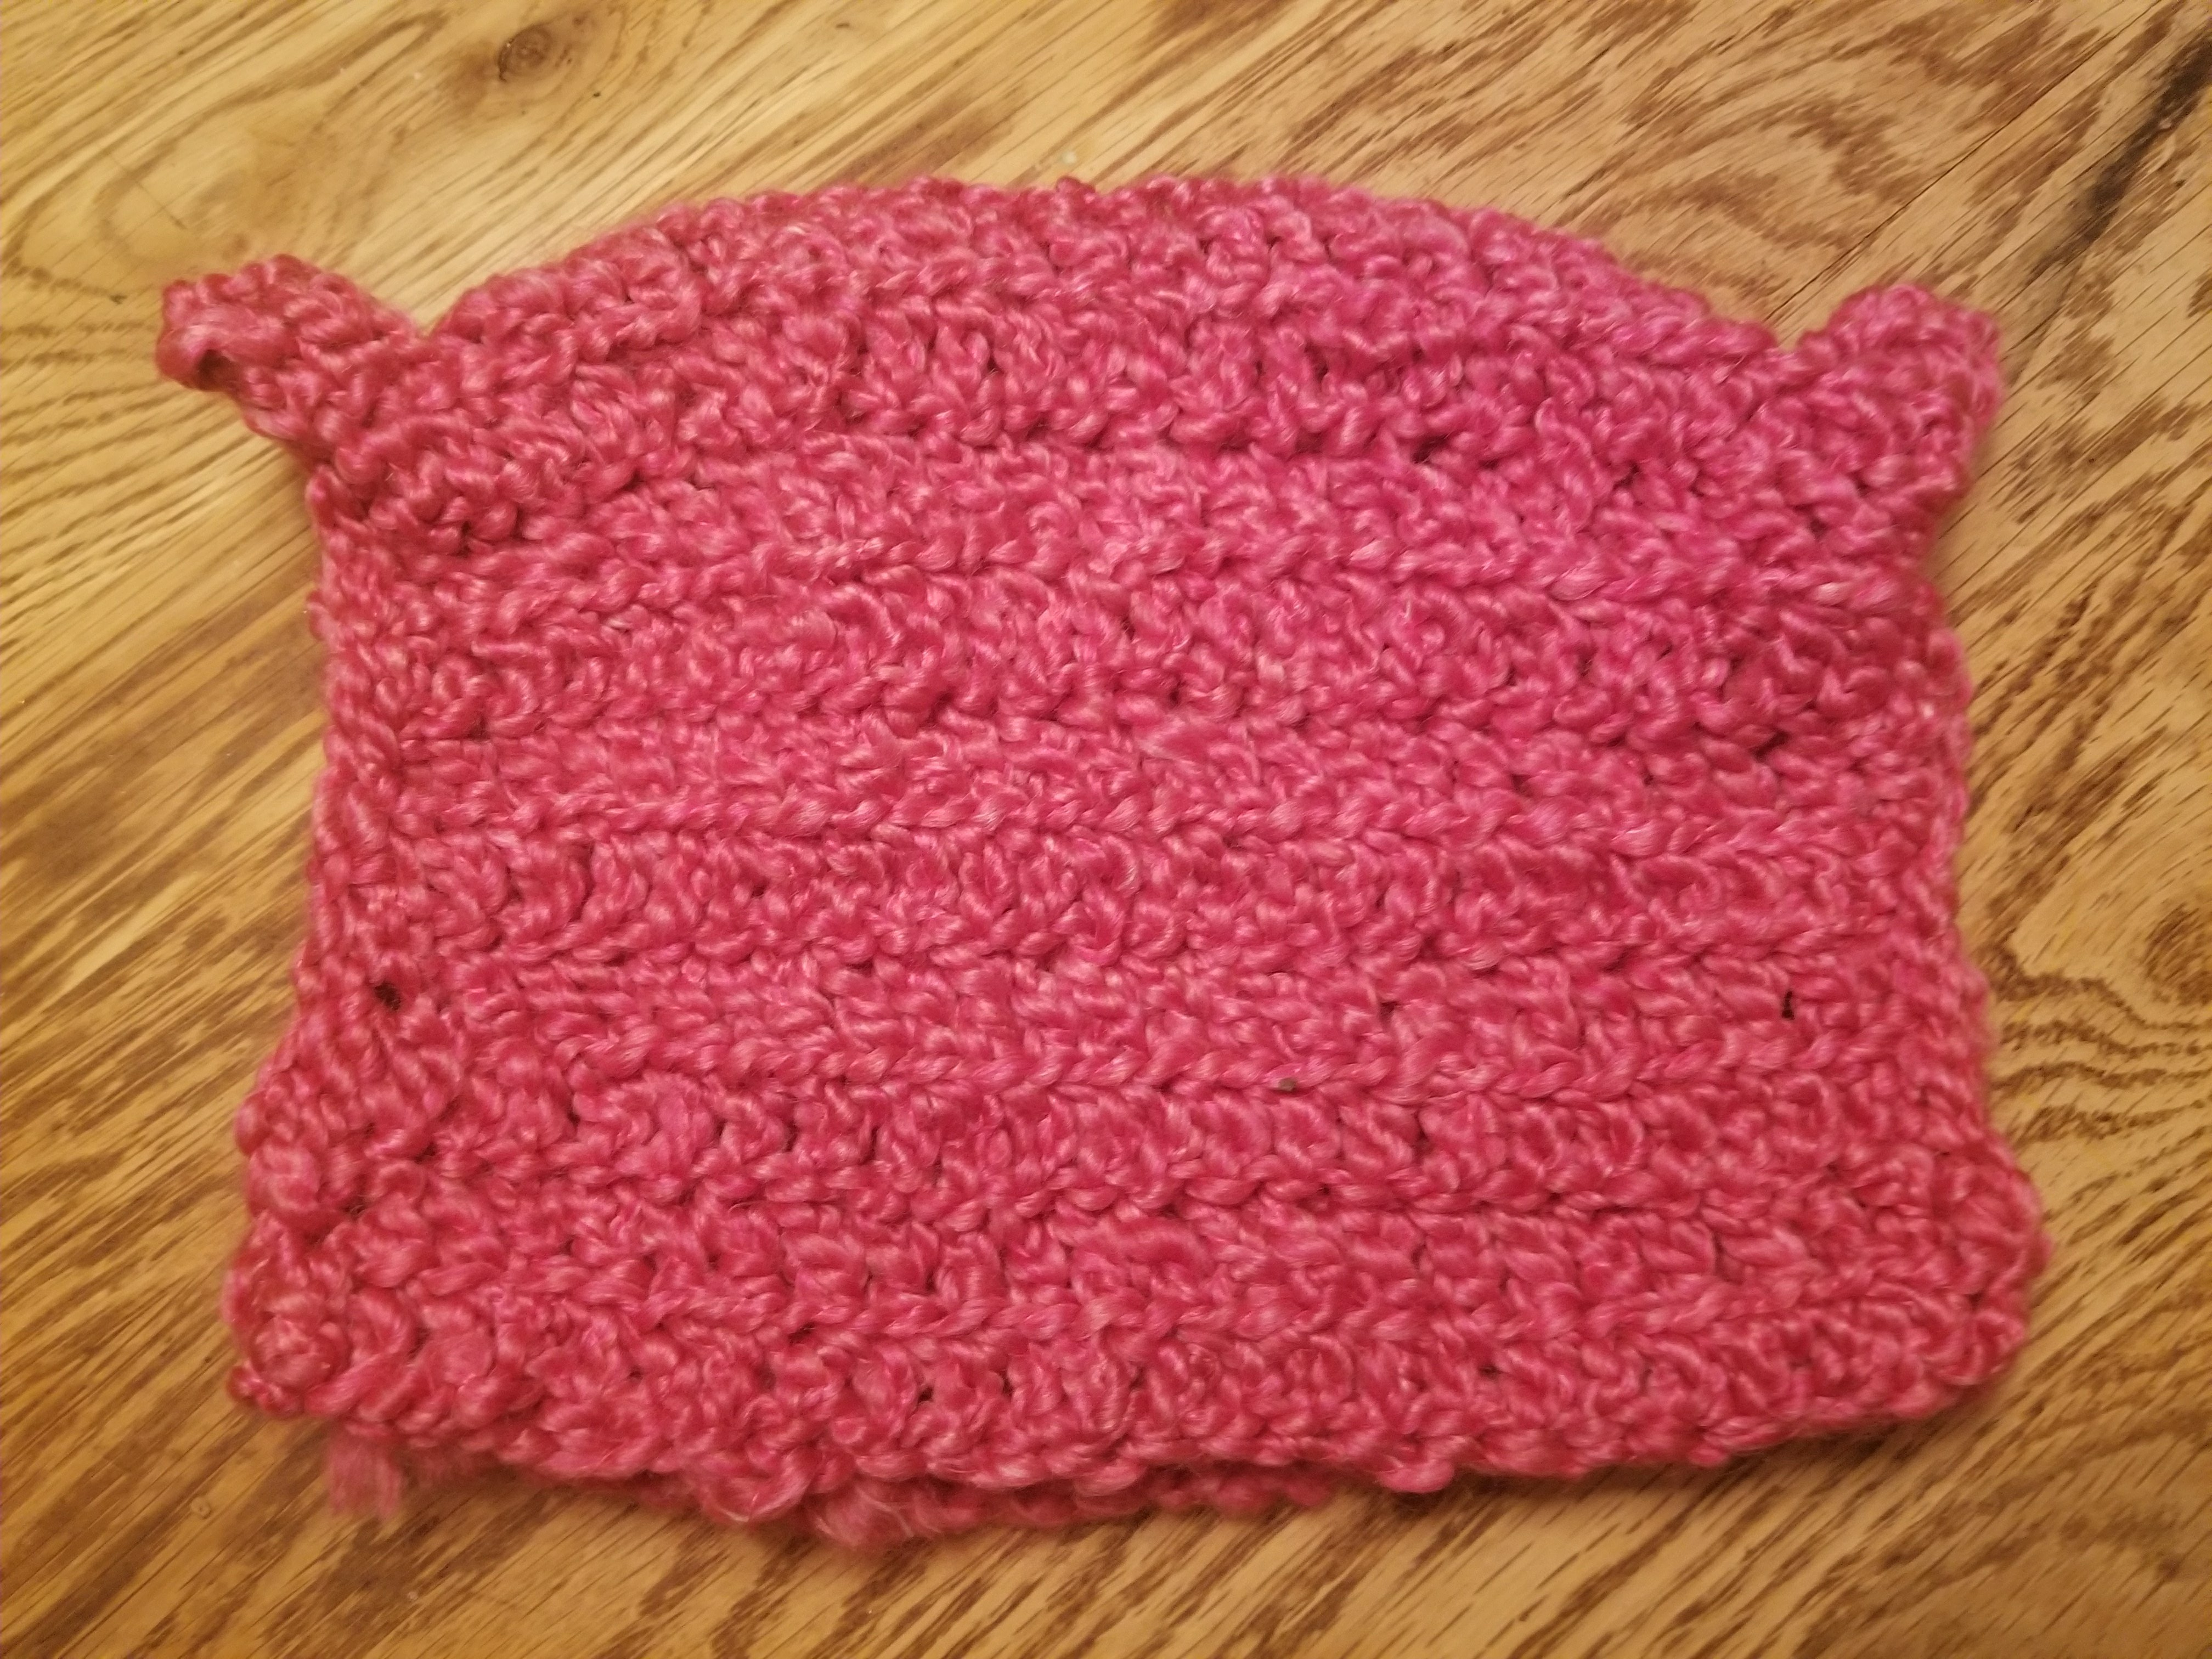
I love to crochet, but I’m not great at it yet. Most of my projects are simple, so take heart for those of you who have not mastered the more complex stitches yet. Me either! It is quite cathartic for me, and I love the rhythmic and steady nature of the stitches. It must have take a very cold or very bored person to figure out how to do this for the first time – you basically take a sick and some thread, tie it in a series of knots and out comes a wearable product! It amazes me every time I finish a project that it all started from a ball of yarn.
For this project, I had a friend ask me how to make Strong Women hats. I don’t particularly like the other name. 😊 So here it goes, a really easy, project that you can finish in an afternoon with no trouble.
I made a few for the initial women’s marches in 2017, and my daughter and I loved wearing ours and passing out the extras at the Atlanta march. I left mine plain, but hers was decorated with little heart shaped crystal buttons for eyes, a little clear crystal round button for a nose, and a very cute purple bow tucked into one ear.
The day was a little cold and wet, with thousands of people (surprisingly large number of men, too!!! – glad to have you fellas!!!) flooding downtown Atlanta with love and solidarity. I have had a LOT of people ask me why I went, and why I took my then 8 year old. Well folks, it’s simple. Because she needed to use her voice. She needed to see me use mine. She needed to learn life lessons at the feet of the master, as our march was led by Rep. John Lewis – a man who knows a little something about peaceful marches. She needed to see strong women refusing to have our sitting president discuss his ability to touch a woman at HIS whim with or without her consent. She needs to know she can say no, and that other women are supporting her if she does. Mainly, her Mom is supporting her right to say no, say whatever she wants, and most importantly – is modeling for her how to use her voice firmly, in a positive manner, for a productive purpose and it is all to support her rights as a strong woman in training. My girl, my warrior princess, my future – she will not have to “go quietly into that dark night” as our predecessors have. She can shine, and will.
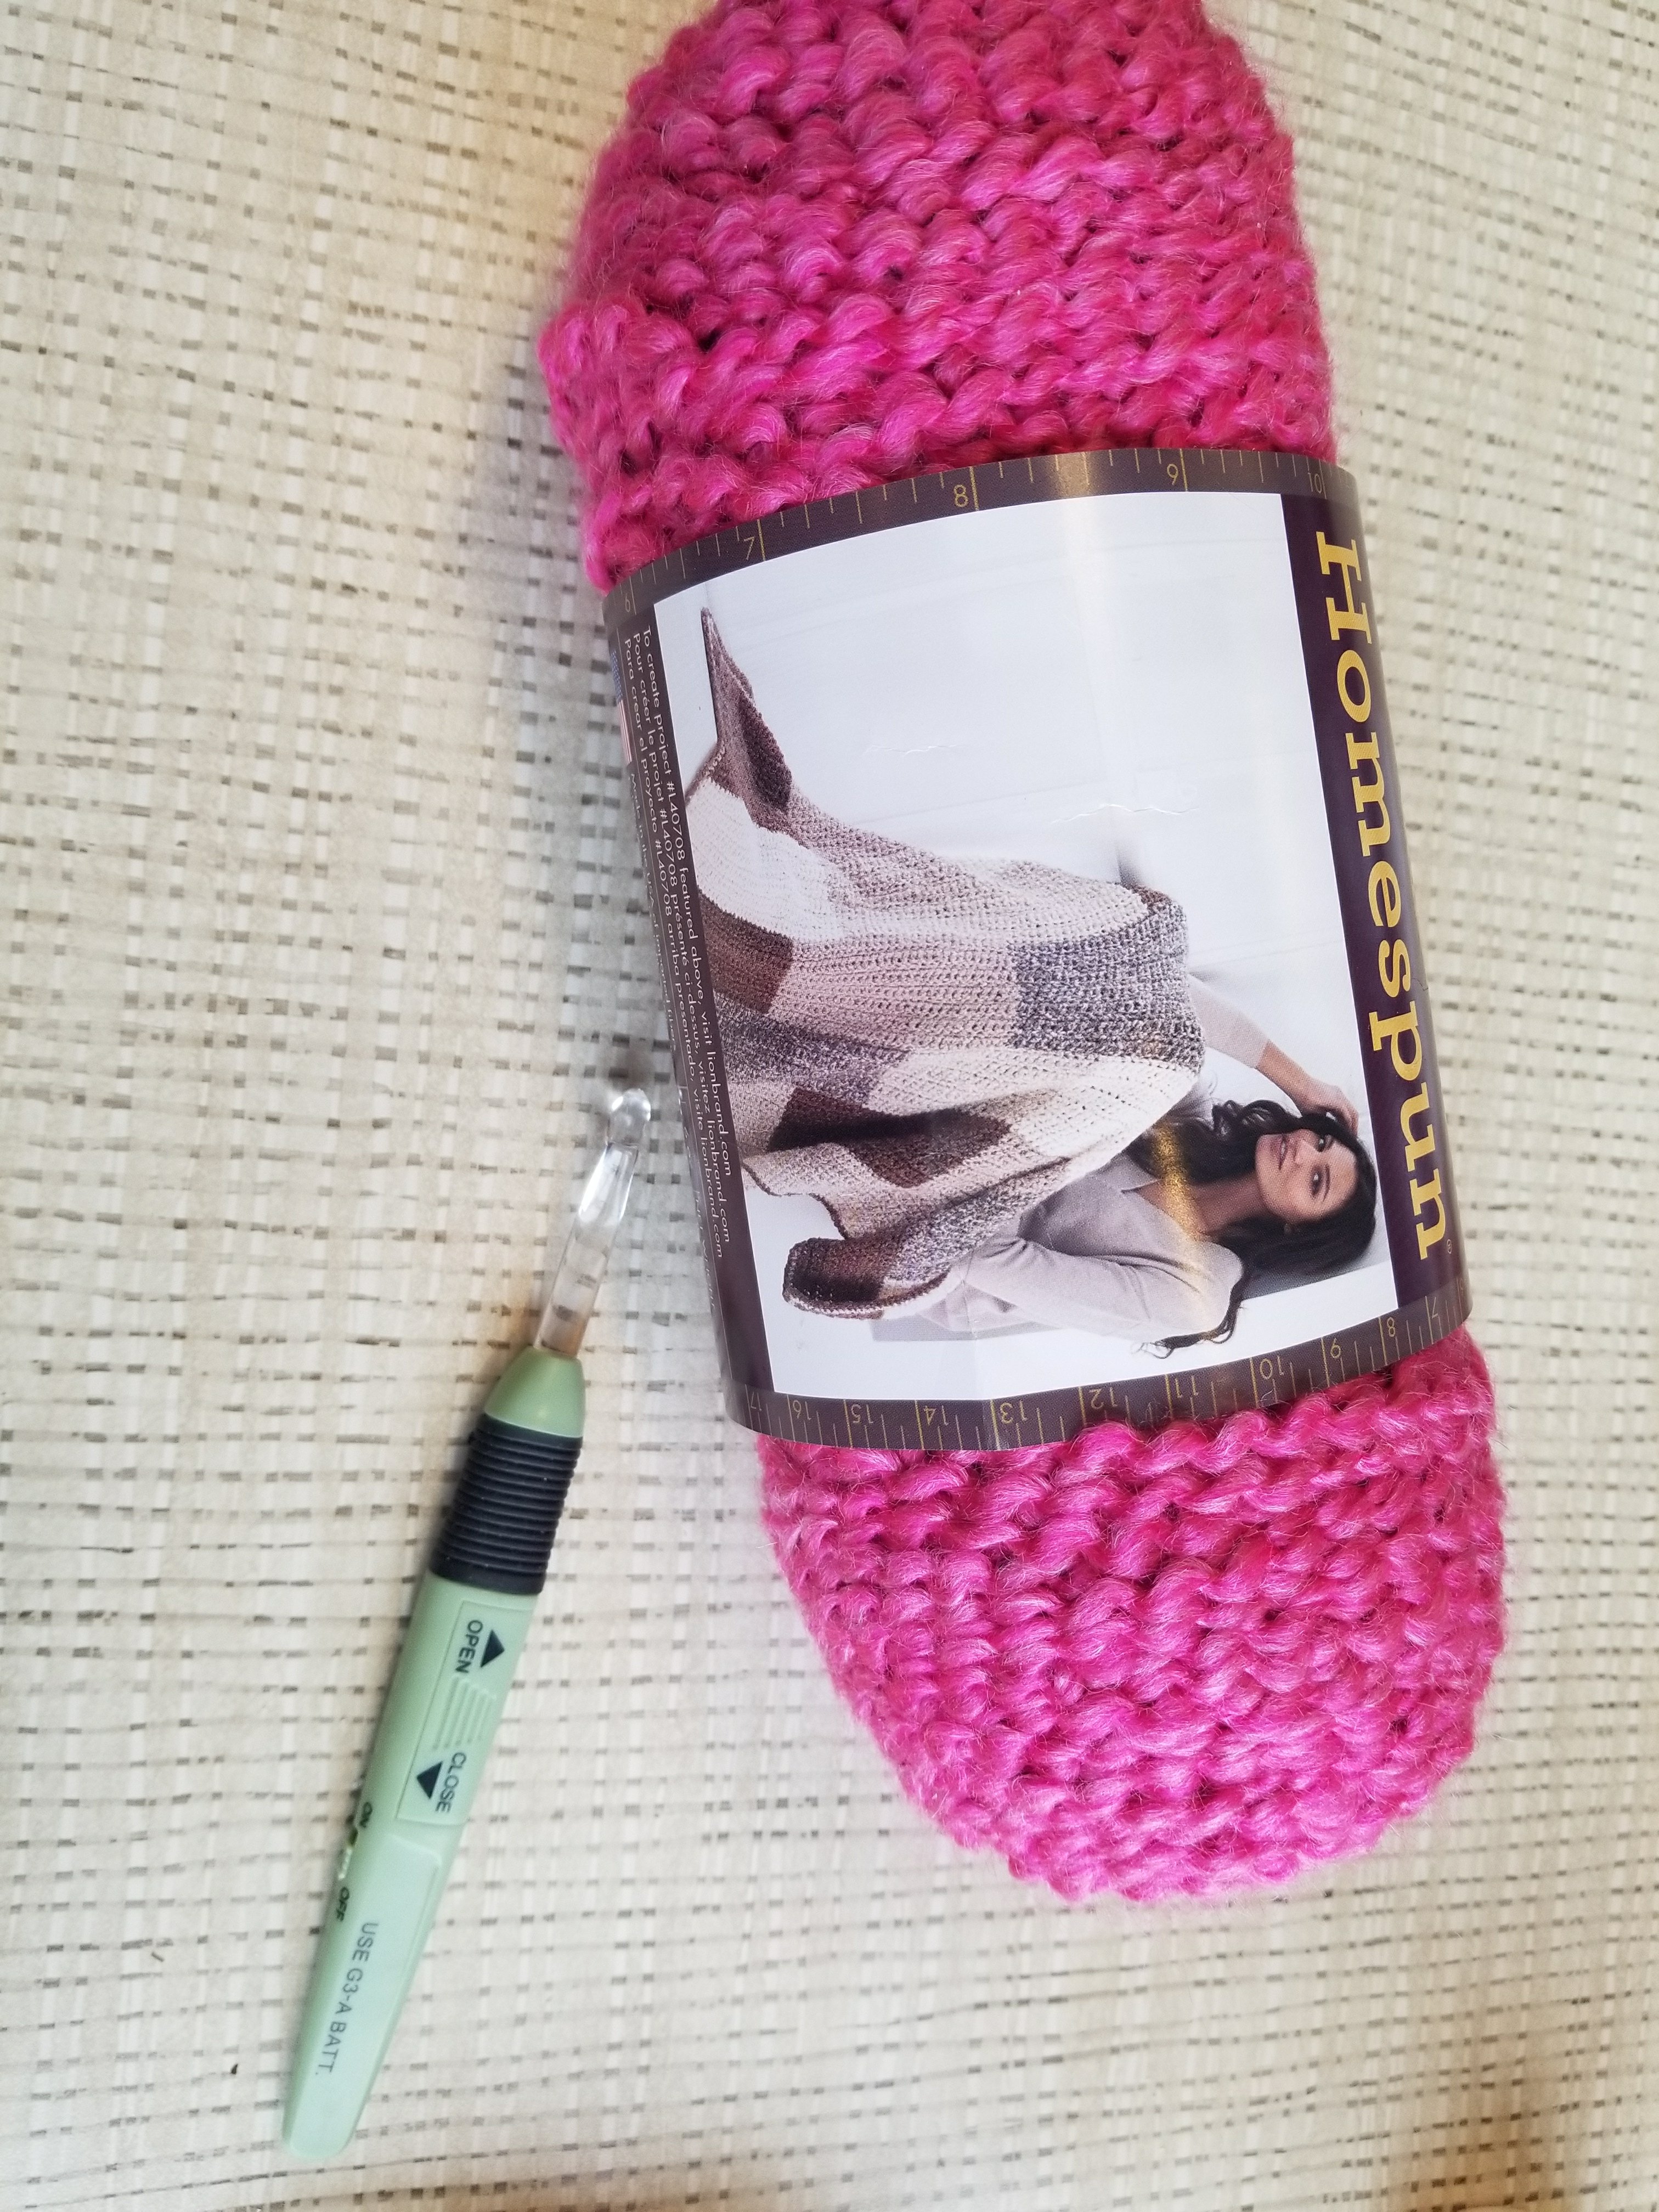
Start with your yarn of choice – since my cat hat is strong woman themed, I am using pink, but I have also turned this into a little black bear hat for my son. I like to use the super bulky yarns for this pattern so that the ears stand up a little better.
I am using Homespun Thick and Quick in Peony with a size 5.5 hook. My hook is lighted! I can work on any project as I am in an airplane, riding home with the family in the evening, or anywhere the light is low.
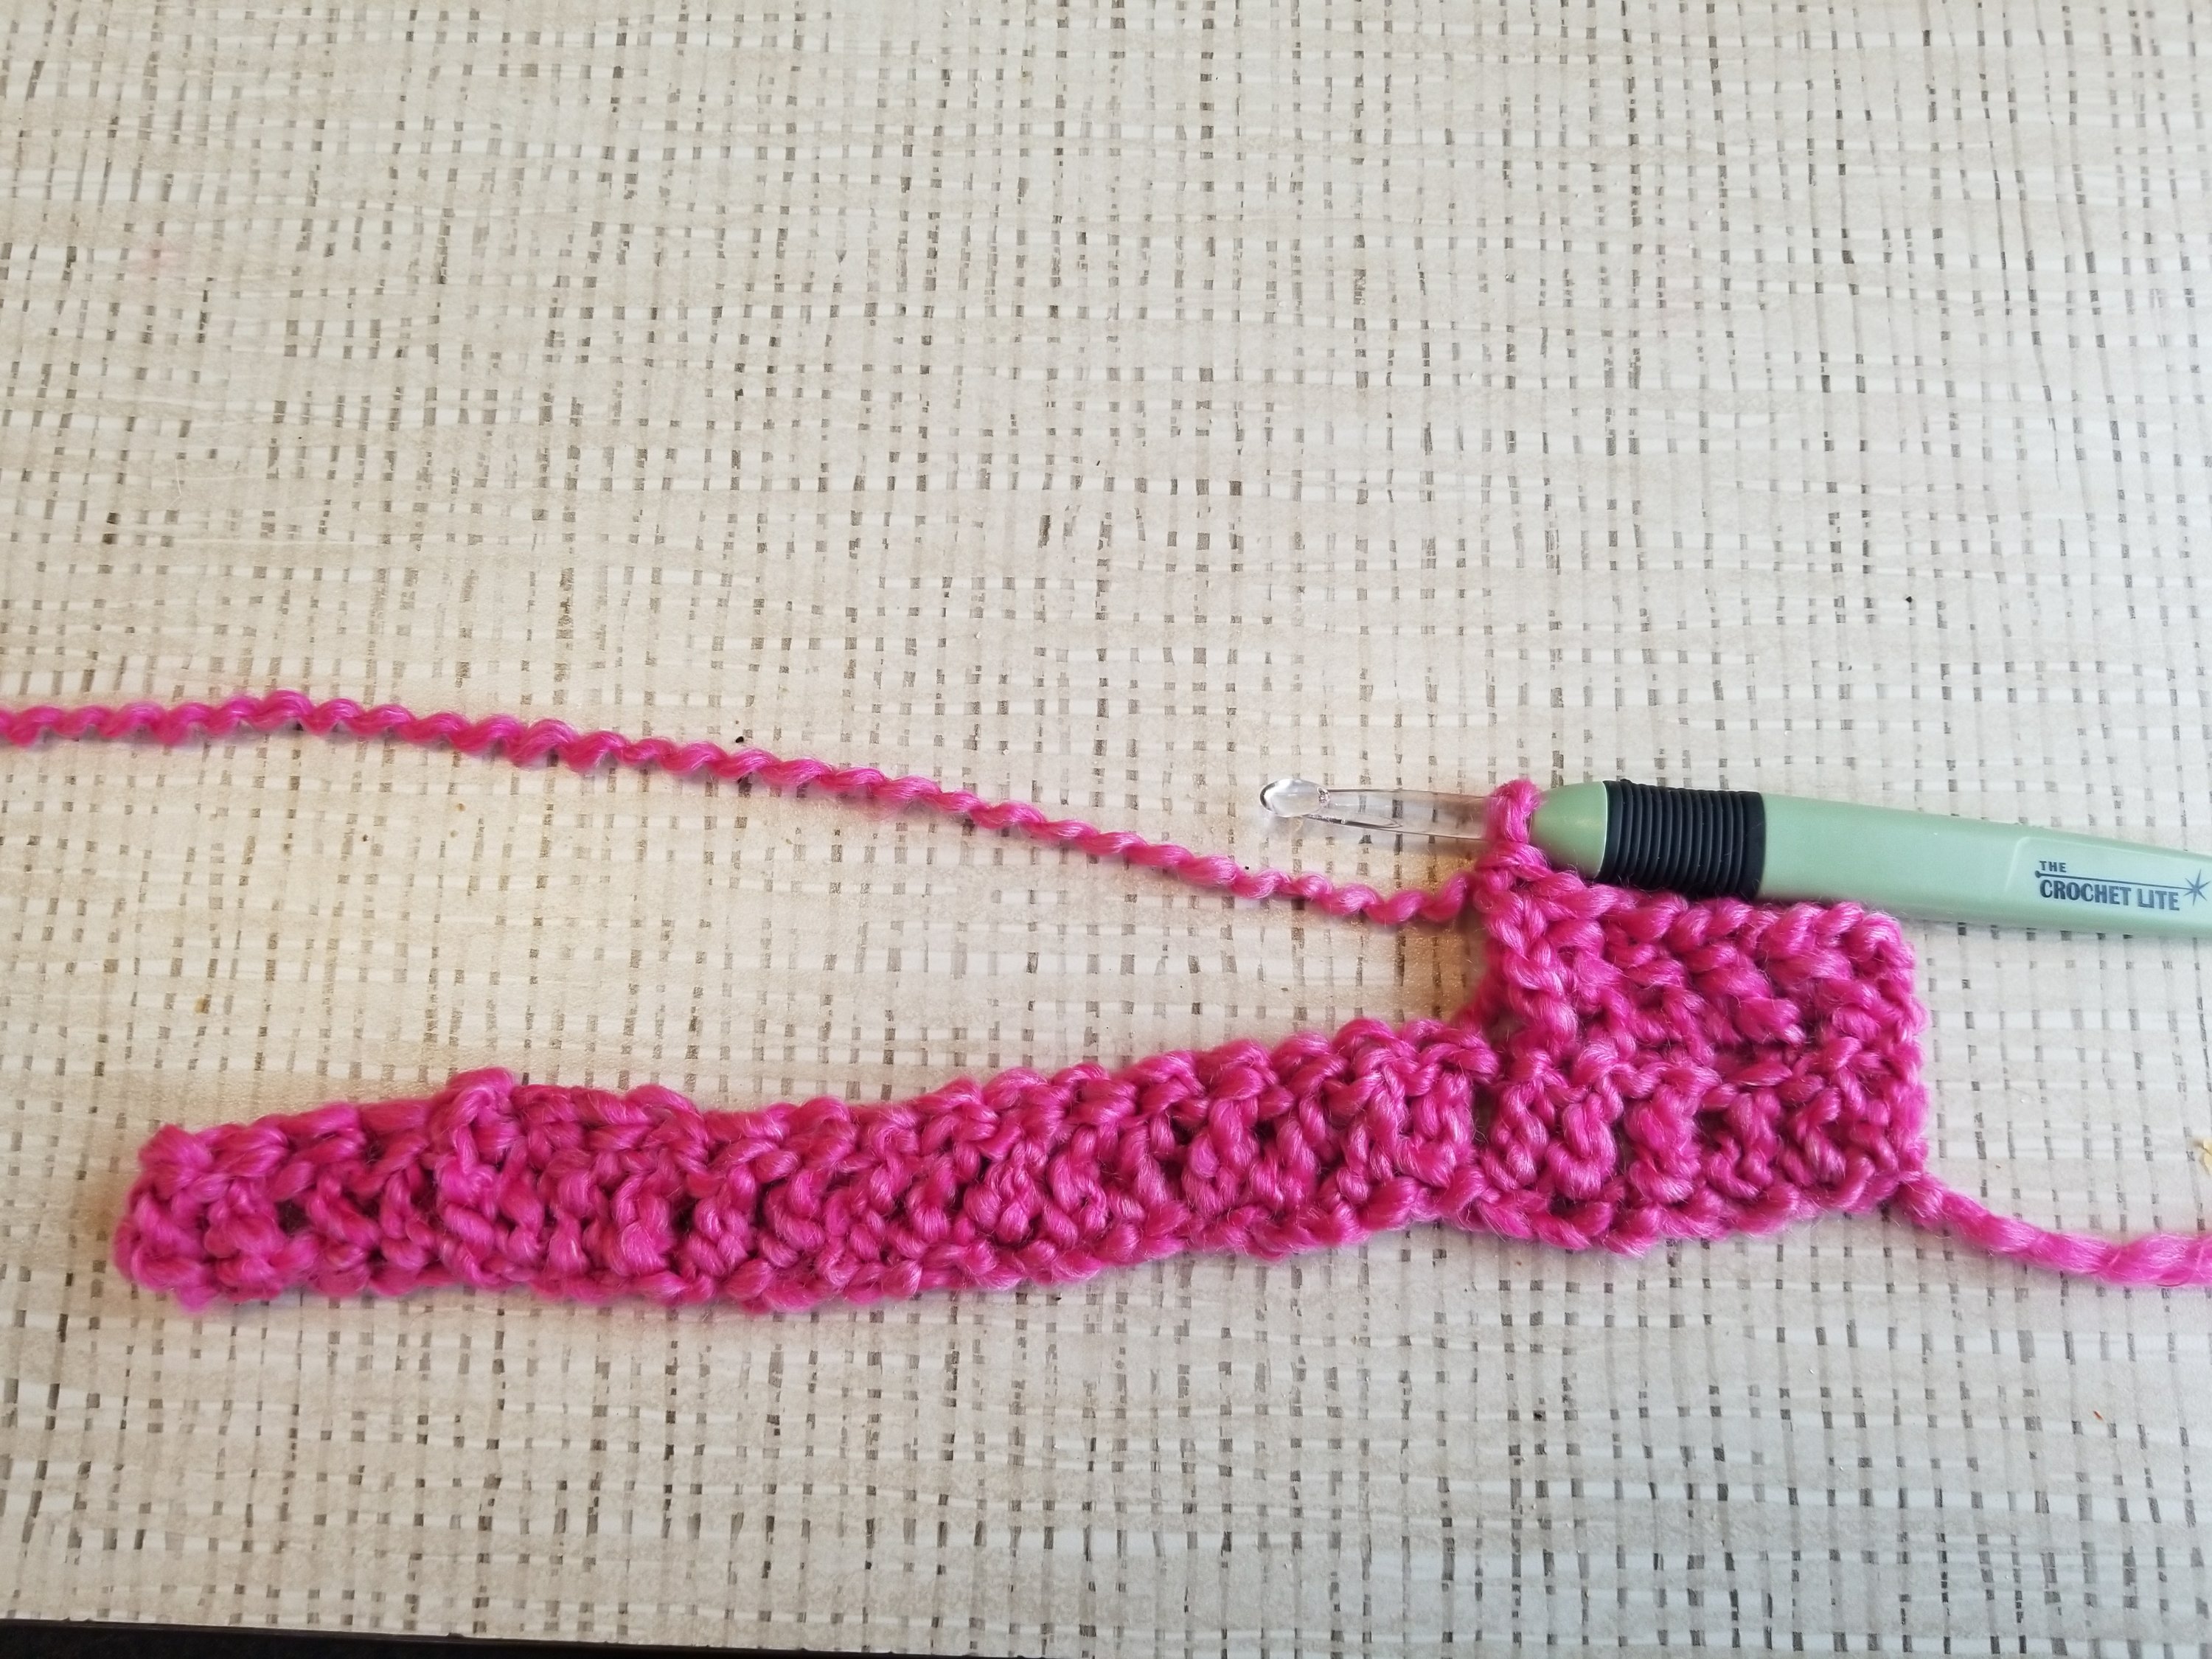
To begin, start with a foundation chain of 27. You want to chain 27 because you are going to begin your first stitch into the second chain from your hook, the 25th stitch you made.
Row 1: double crochet 25. One thing it took me a while to grasp was that I was going to have to make sure that the last stitch of the row would have to go into that little loop that wraps around the outside of the last previous stitch. It doesn’t look like a loop, so you may have to work at it a bit to loosen up the loop enough to get your hook in. Once you have double crocheted into that stitch, you are almost done with your first row! Chain two and turn your work.
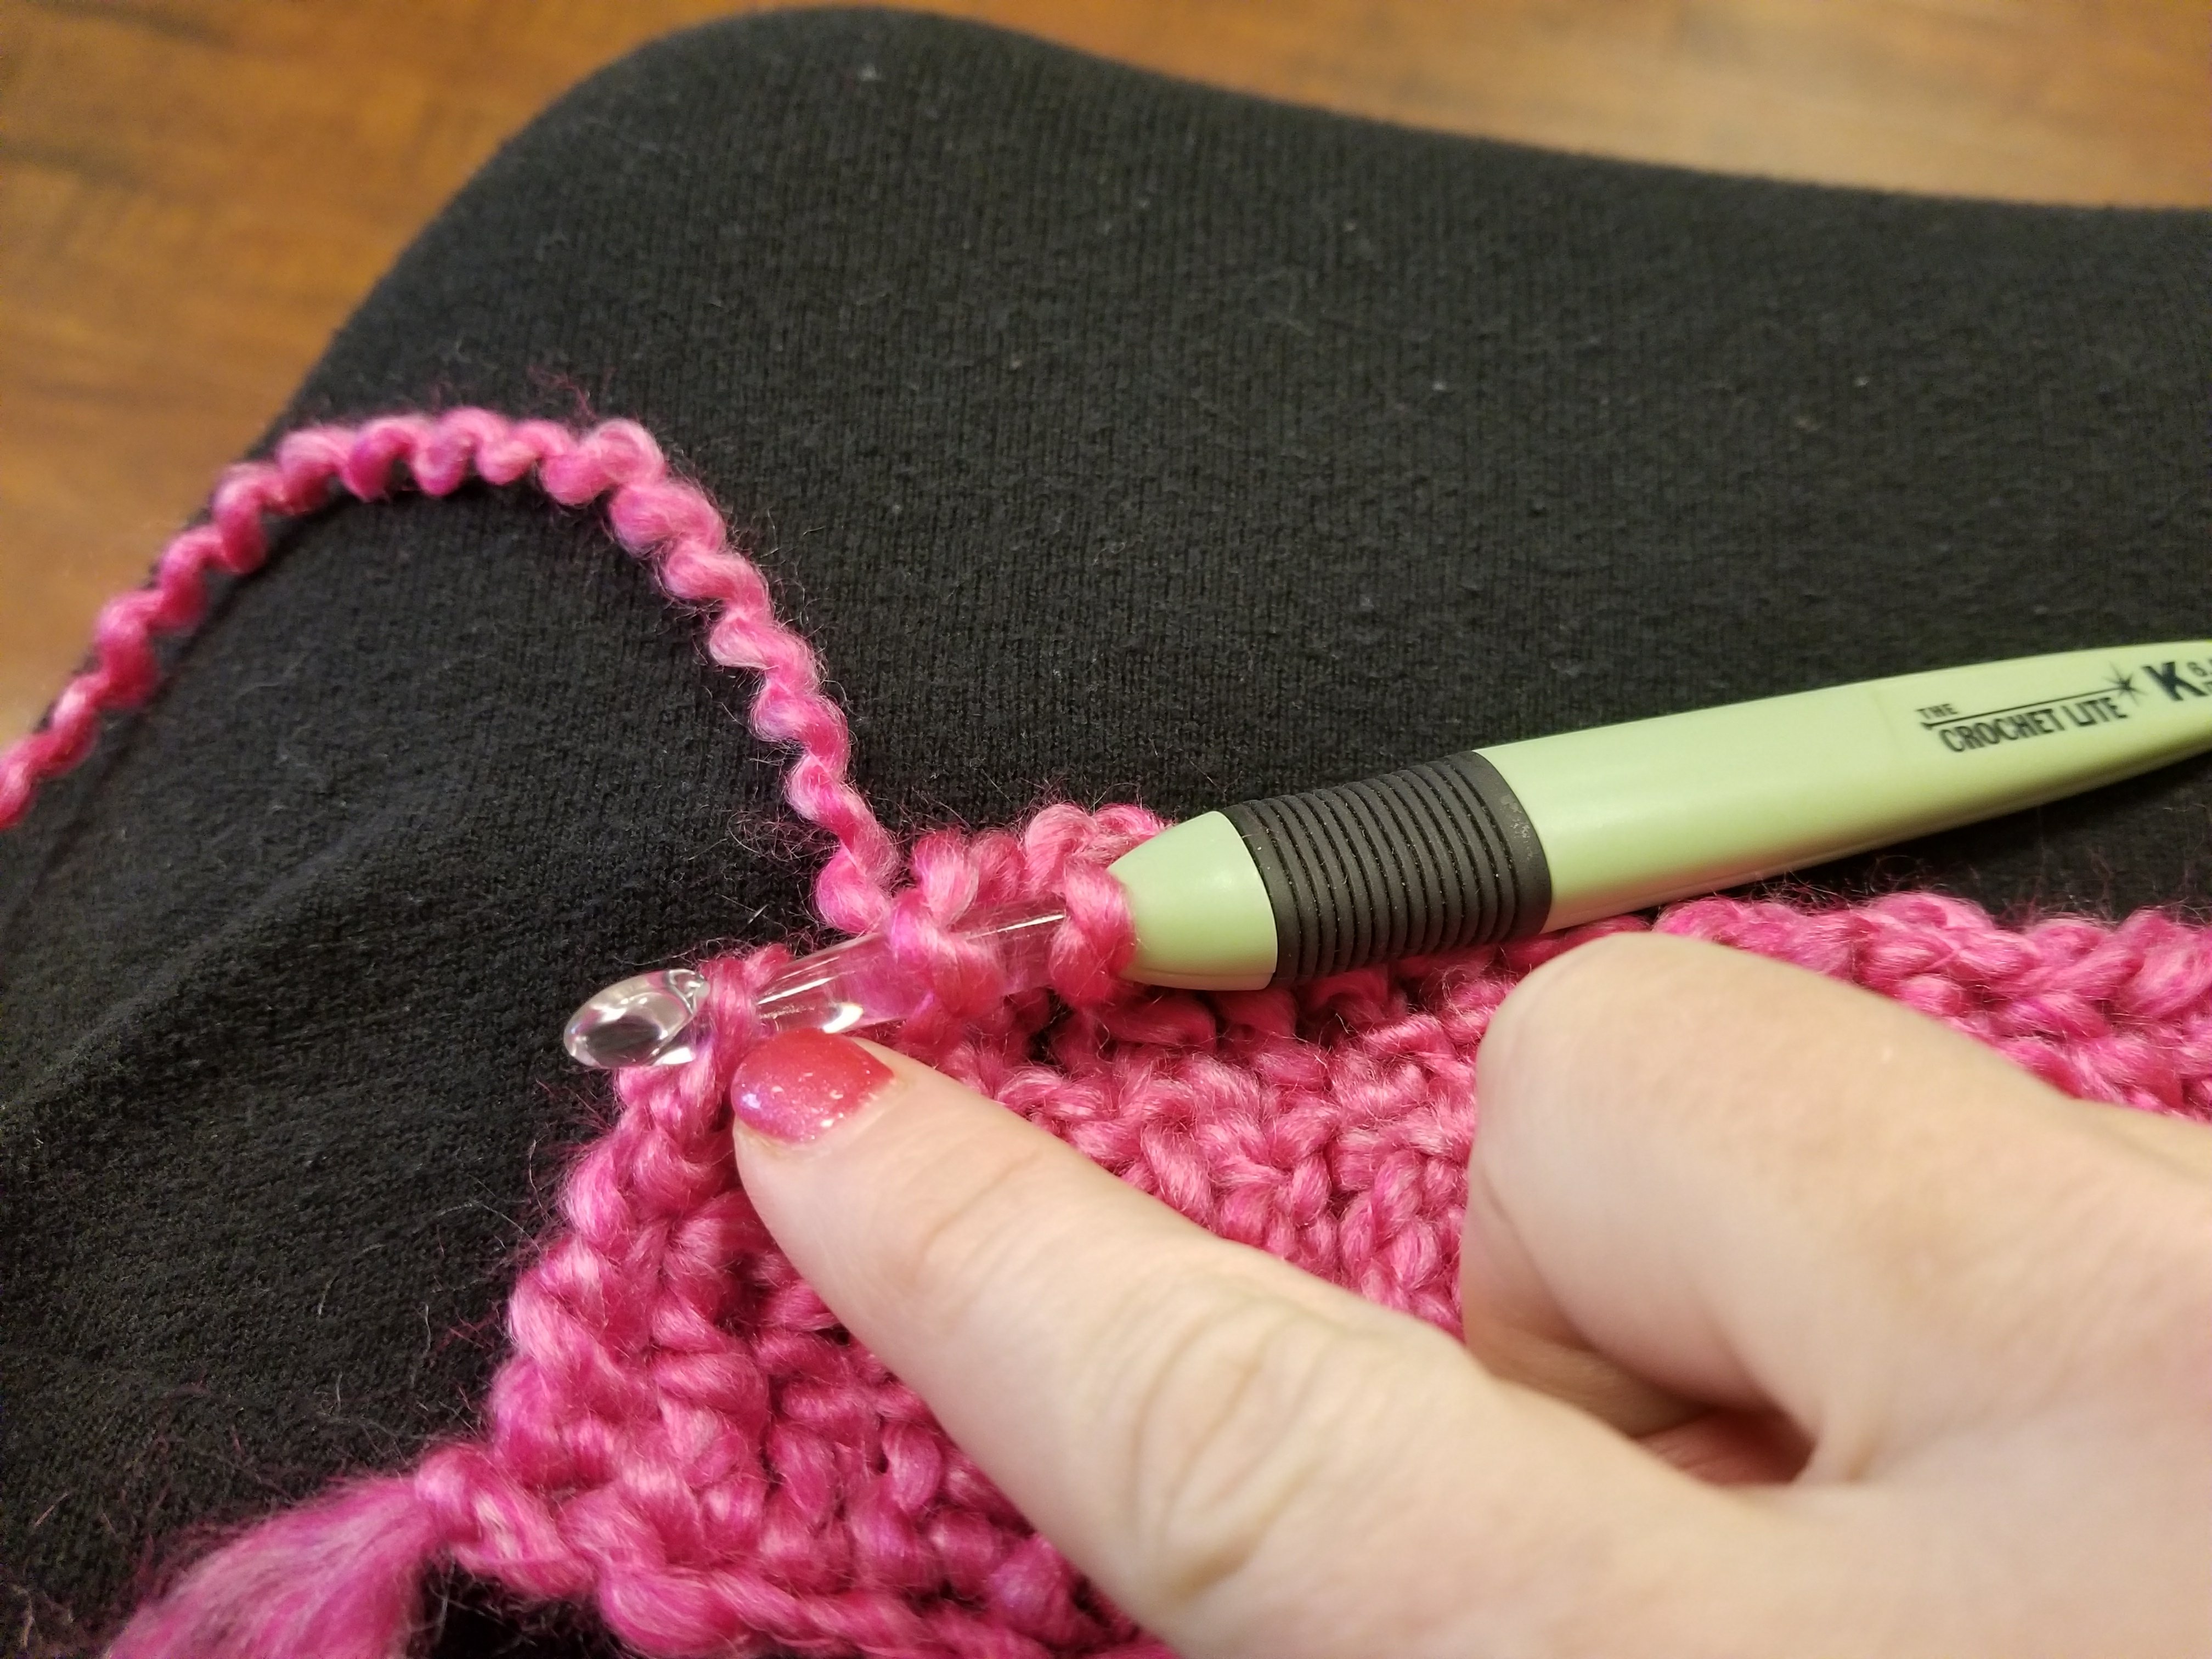
Row 2: repeat the instructions for row one until you reach your desired length, ensuring that you are crocheting into the back loop on each row. Personally, for an adult, I like 20 rows.
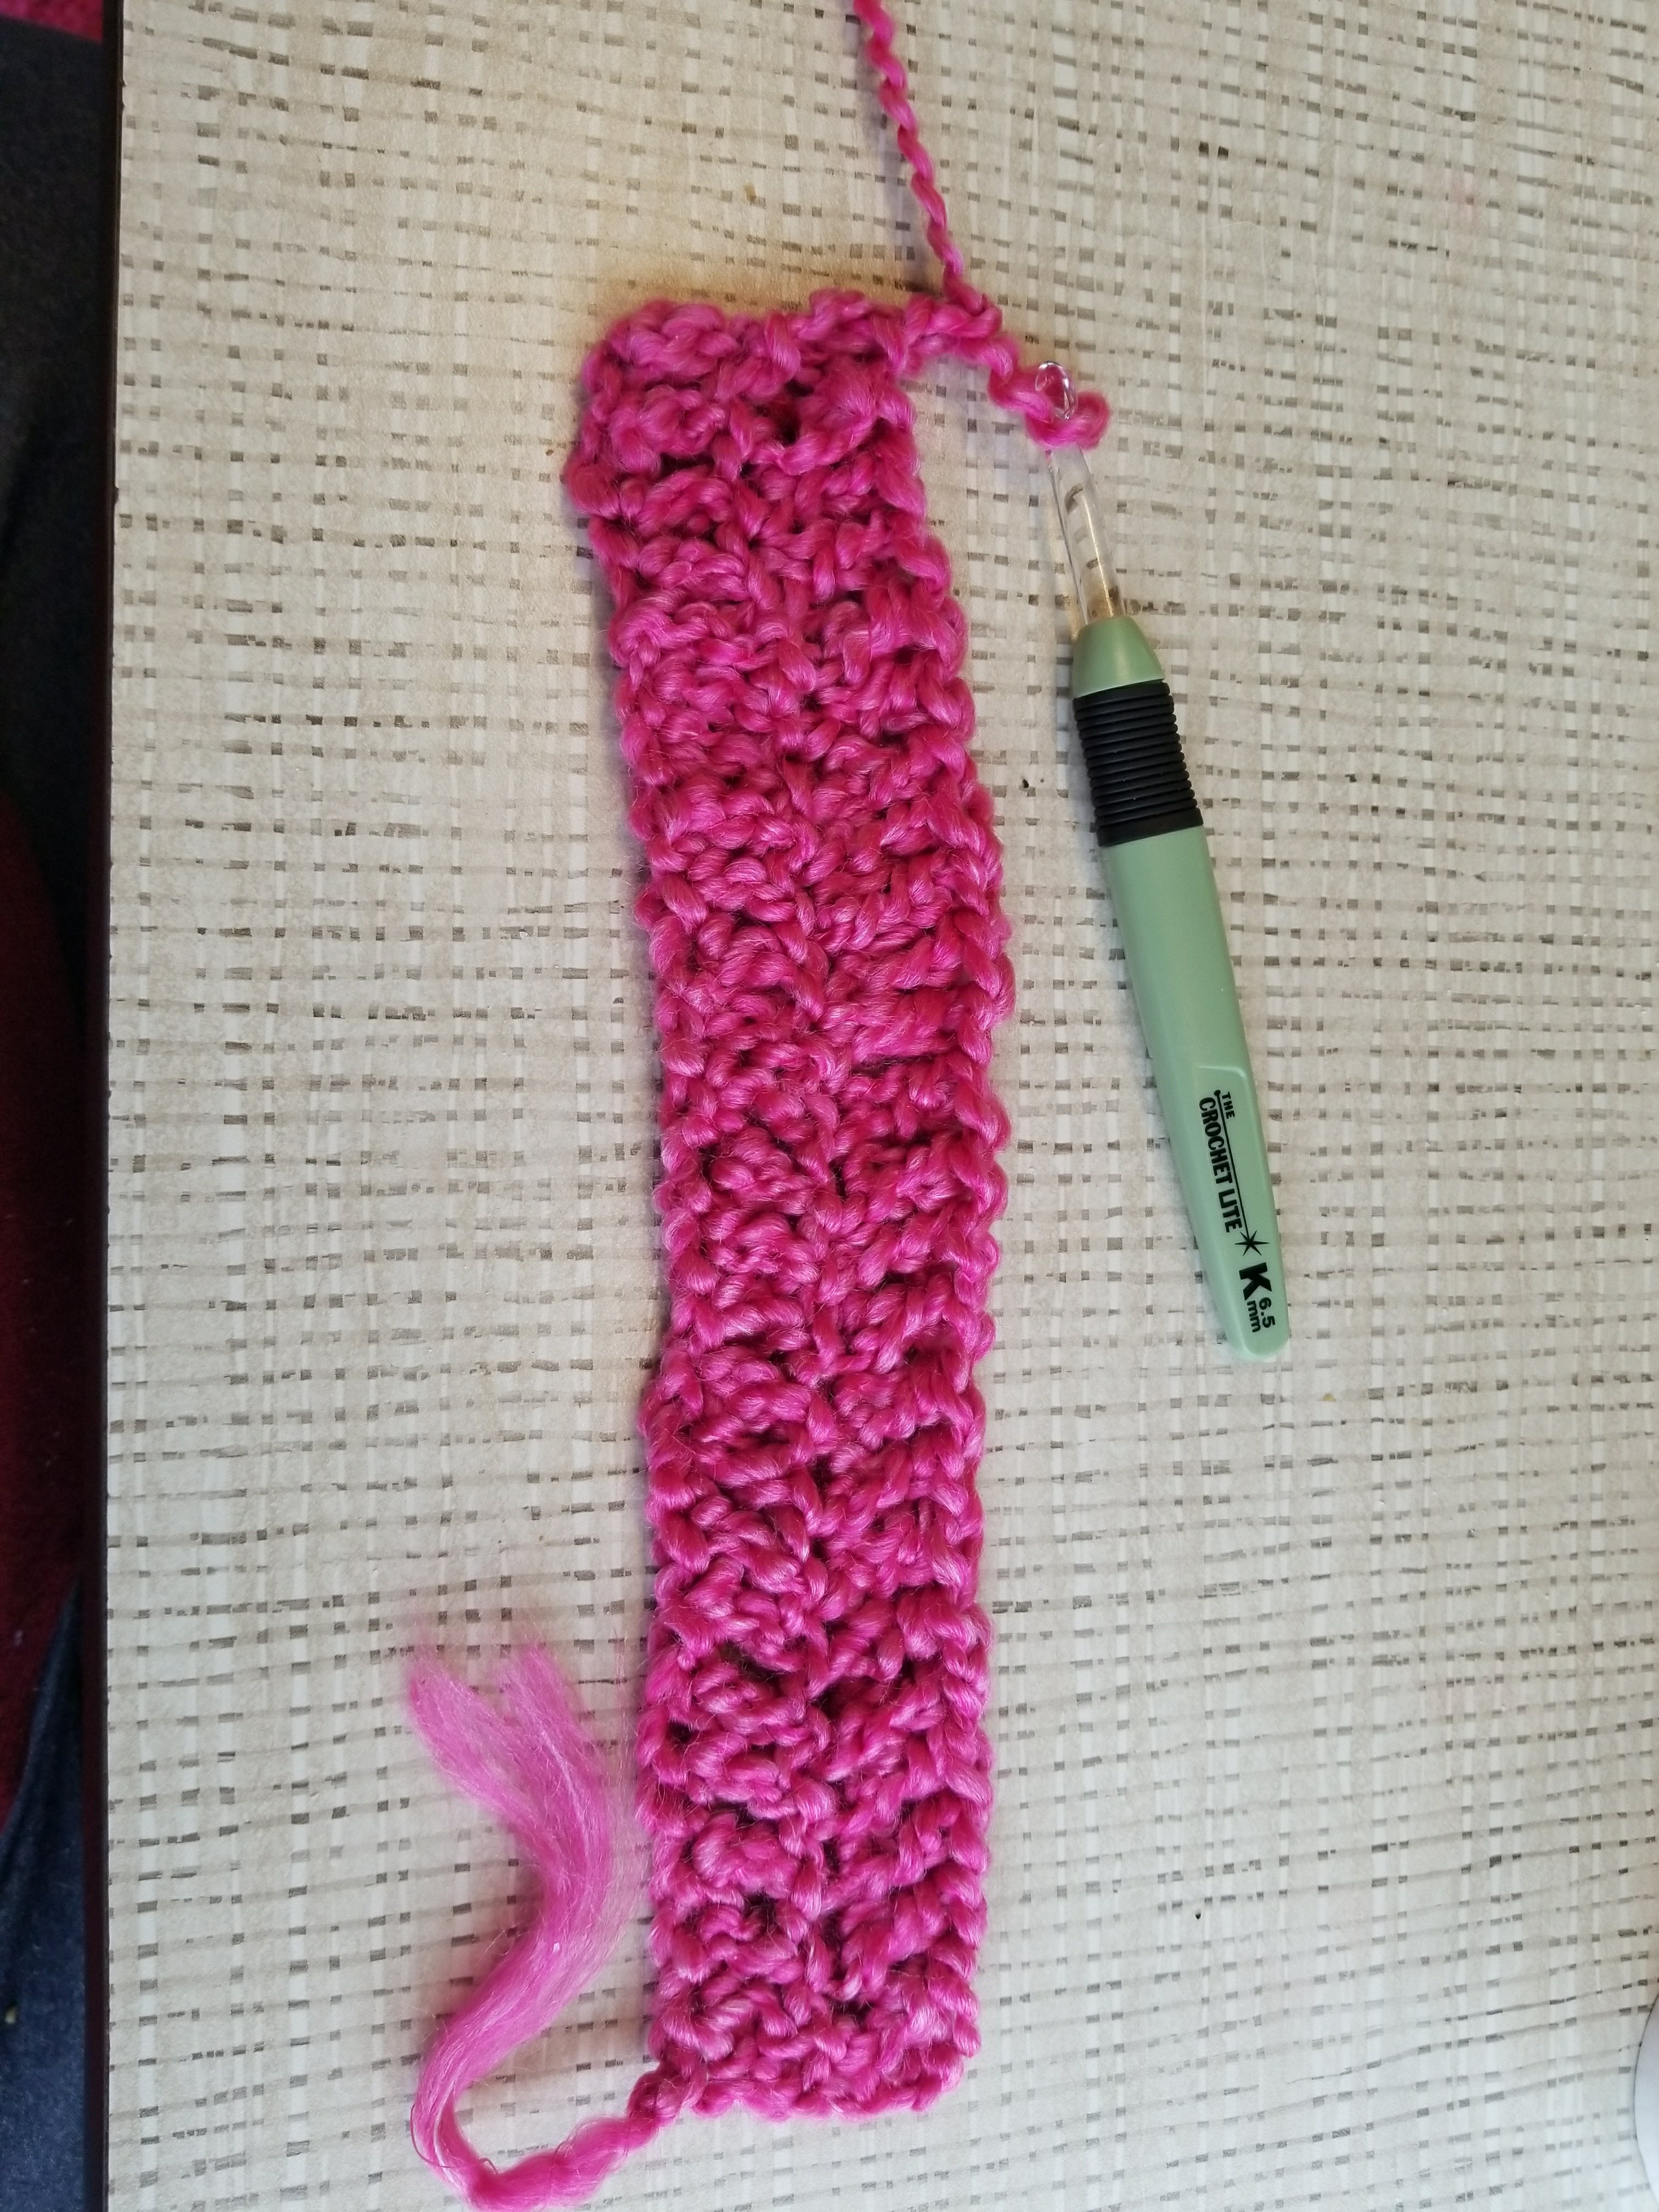
Row 20 (or your final row): Finish your work by cutting your yarn at about three inches and tie off. Weave in the ends to your rectangle.
To make your rectangle into a slouchy beanie hat, fold the rectangle in half. Single crochet from the bottom (open end) of your hat up the side to the top. Cut, tie off your yarn and weave in the end. Repeat this procedure to close the seam on the opposite side. You now have the body of your hat complete!
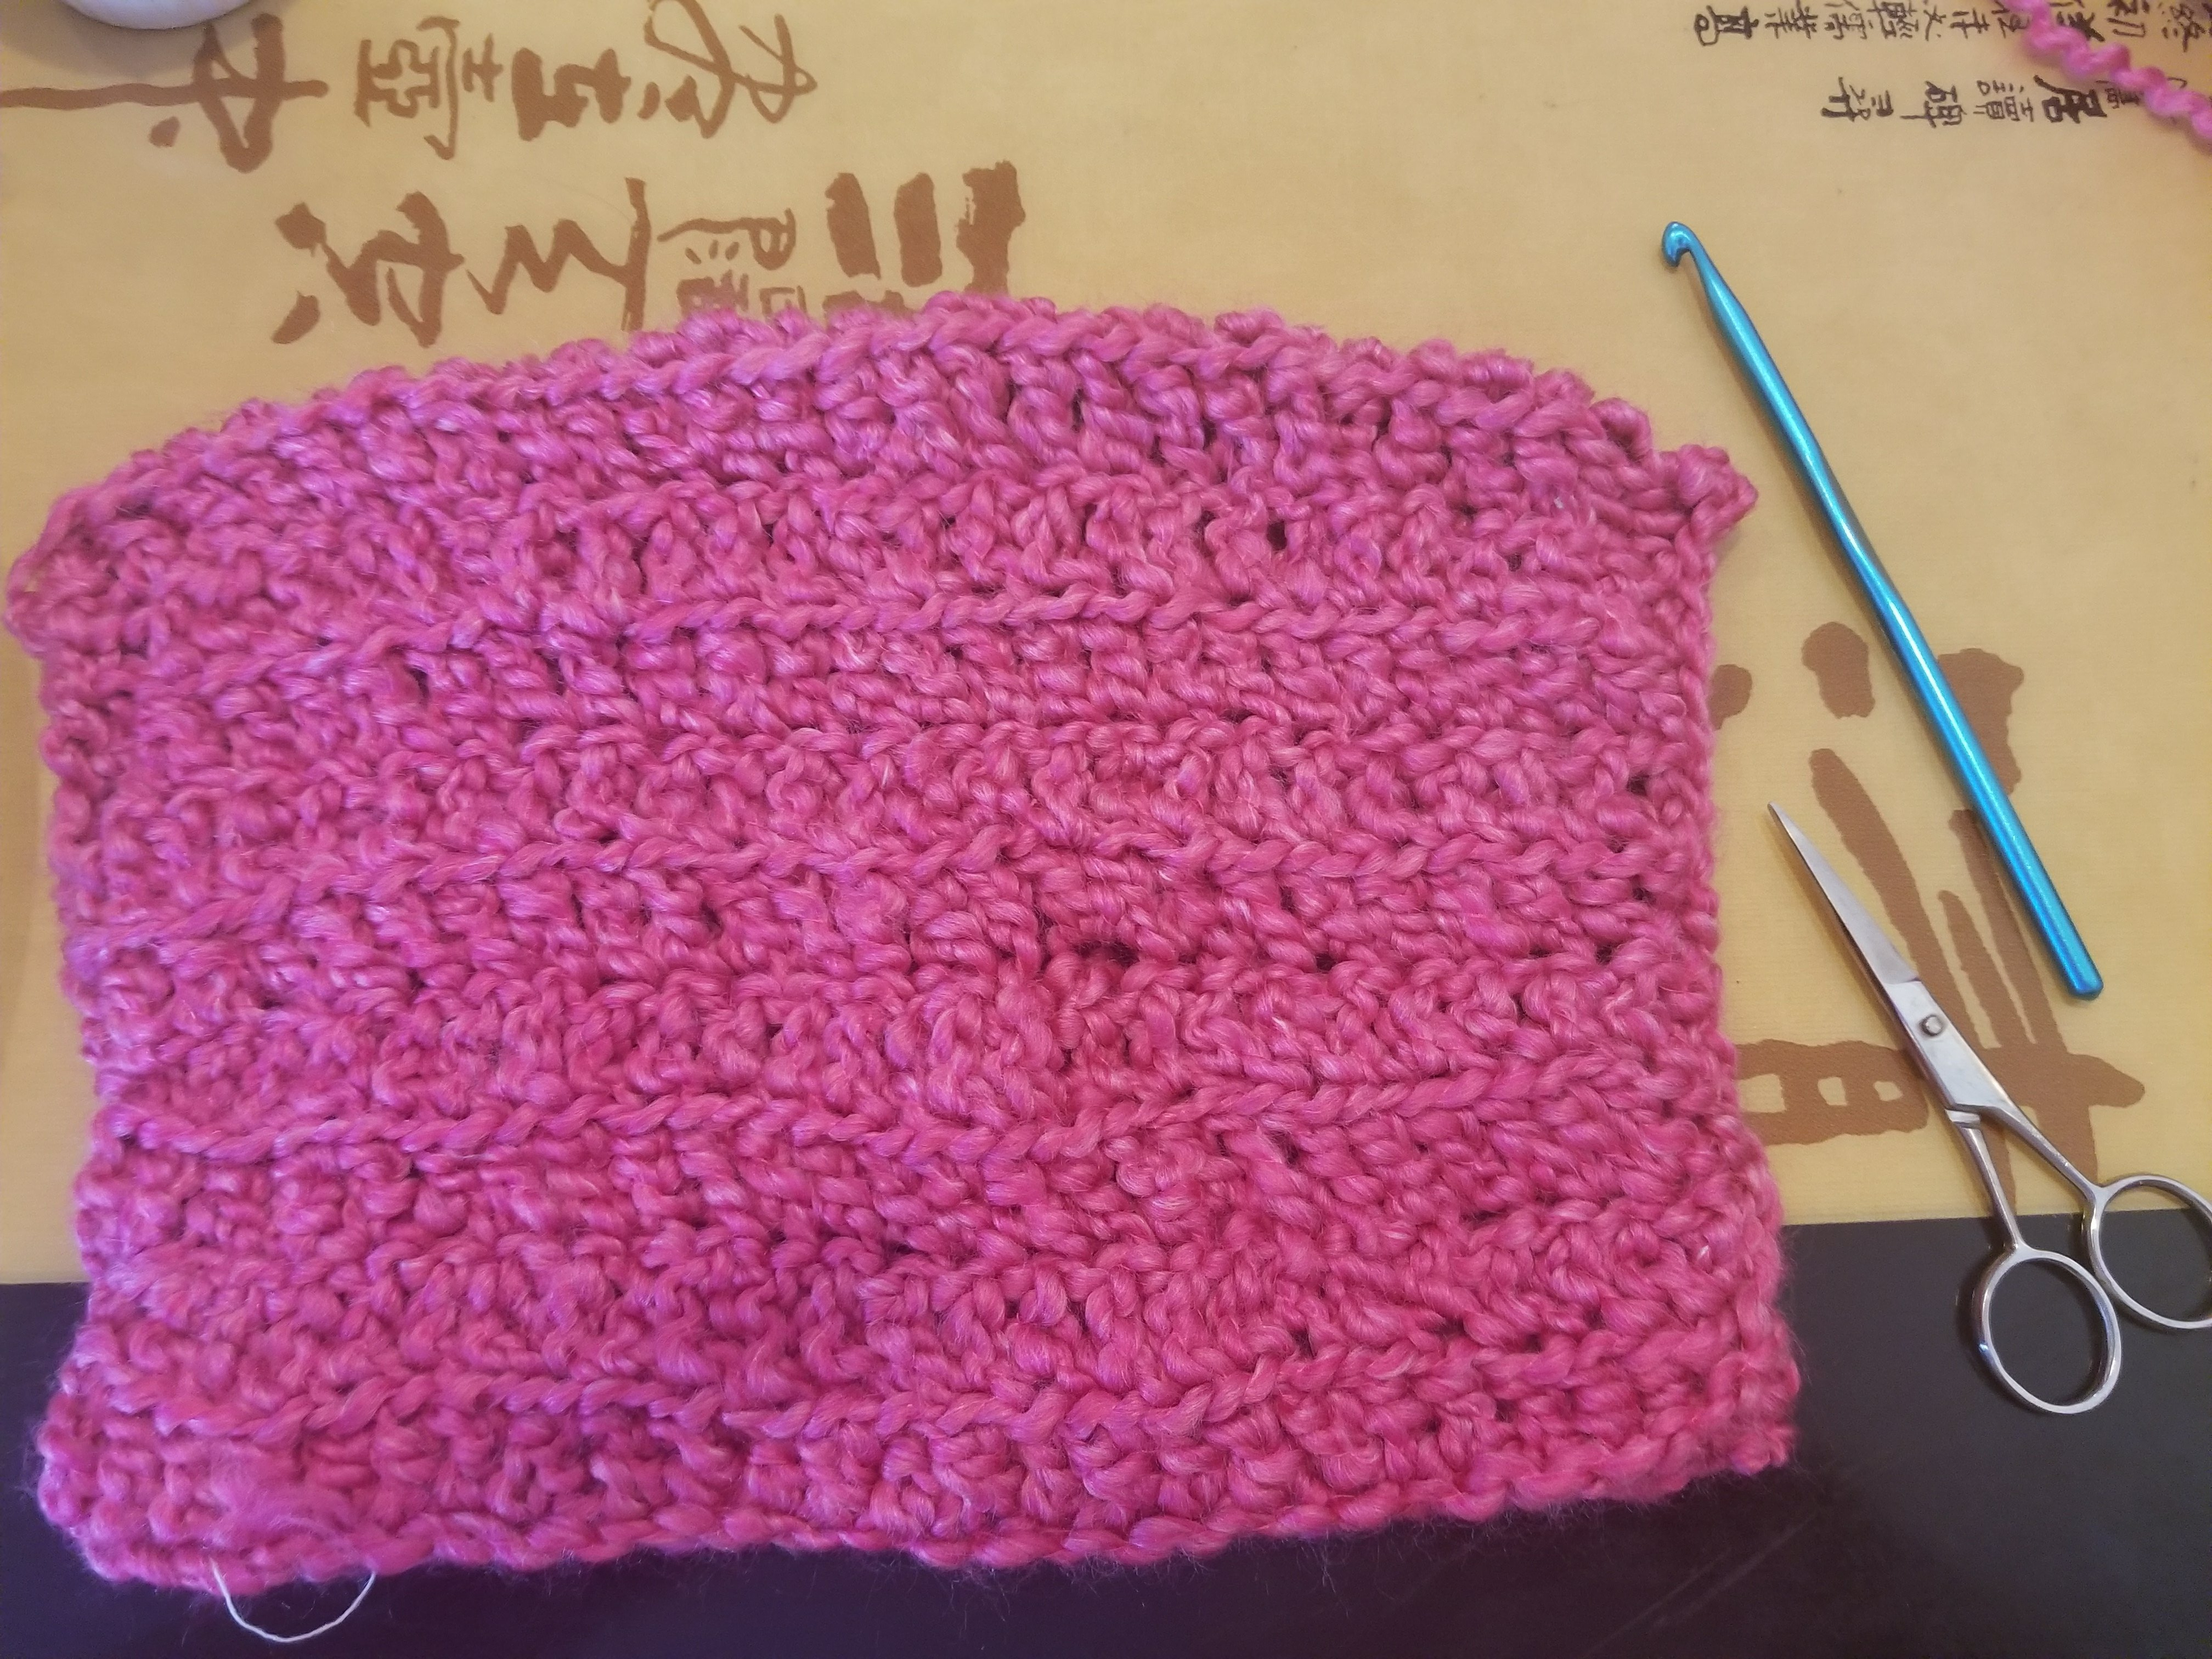
Finish the cat eared shape by measuring about 1 and ½ to 2 inches from the point diagonally towards the center. Imagine a perpendicular line that creates a triangle from one side of the at to the other, intersecting the end of your first line.
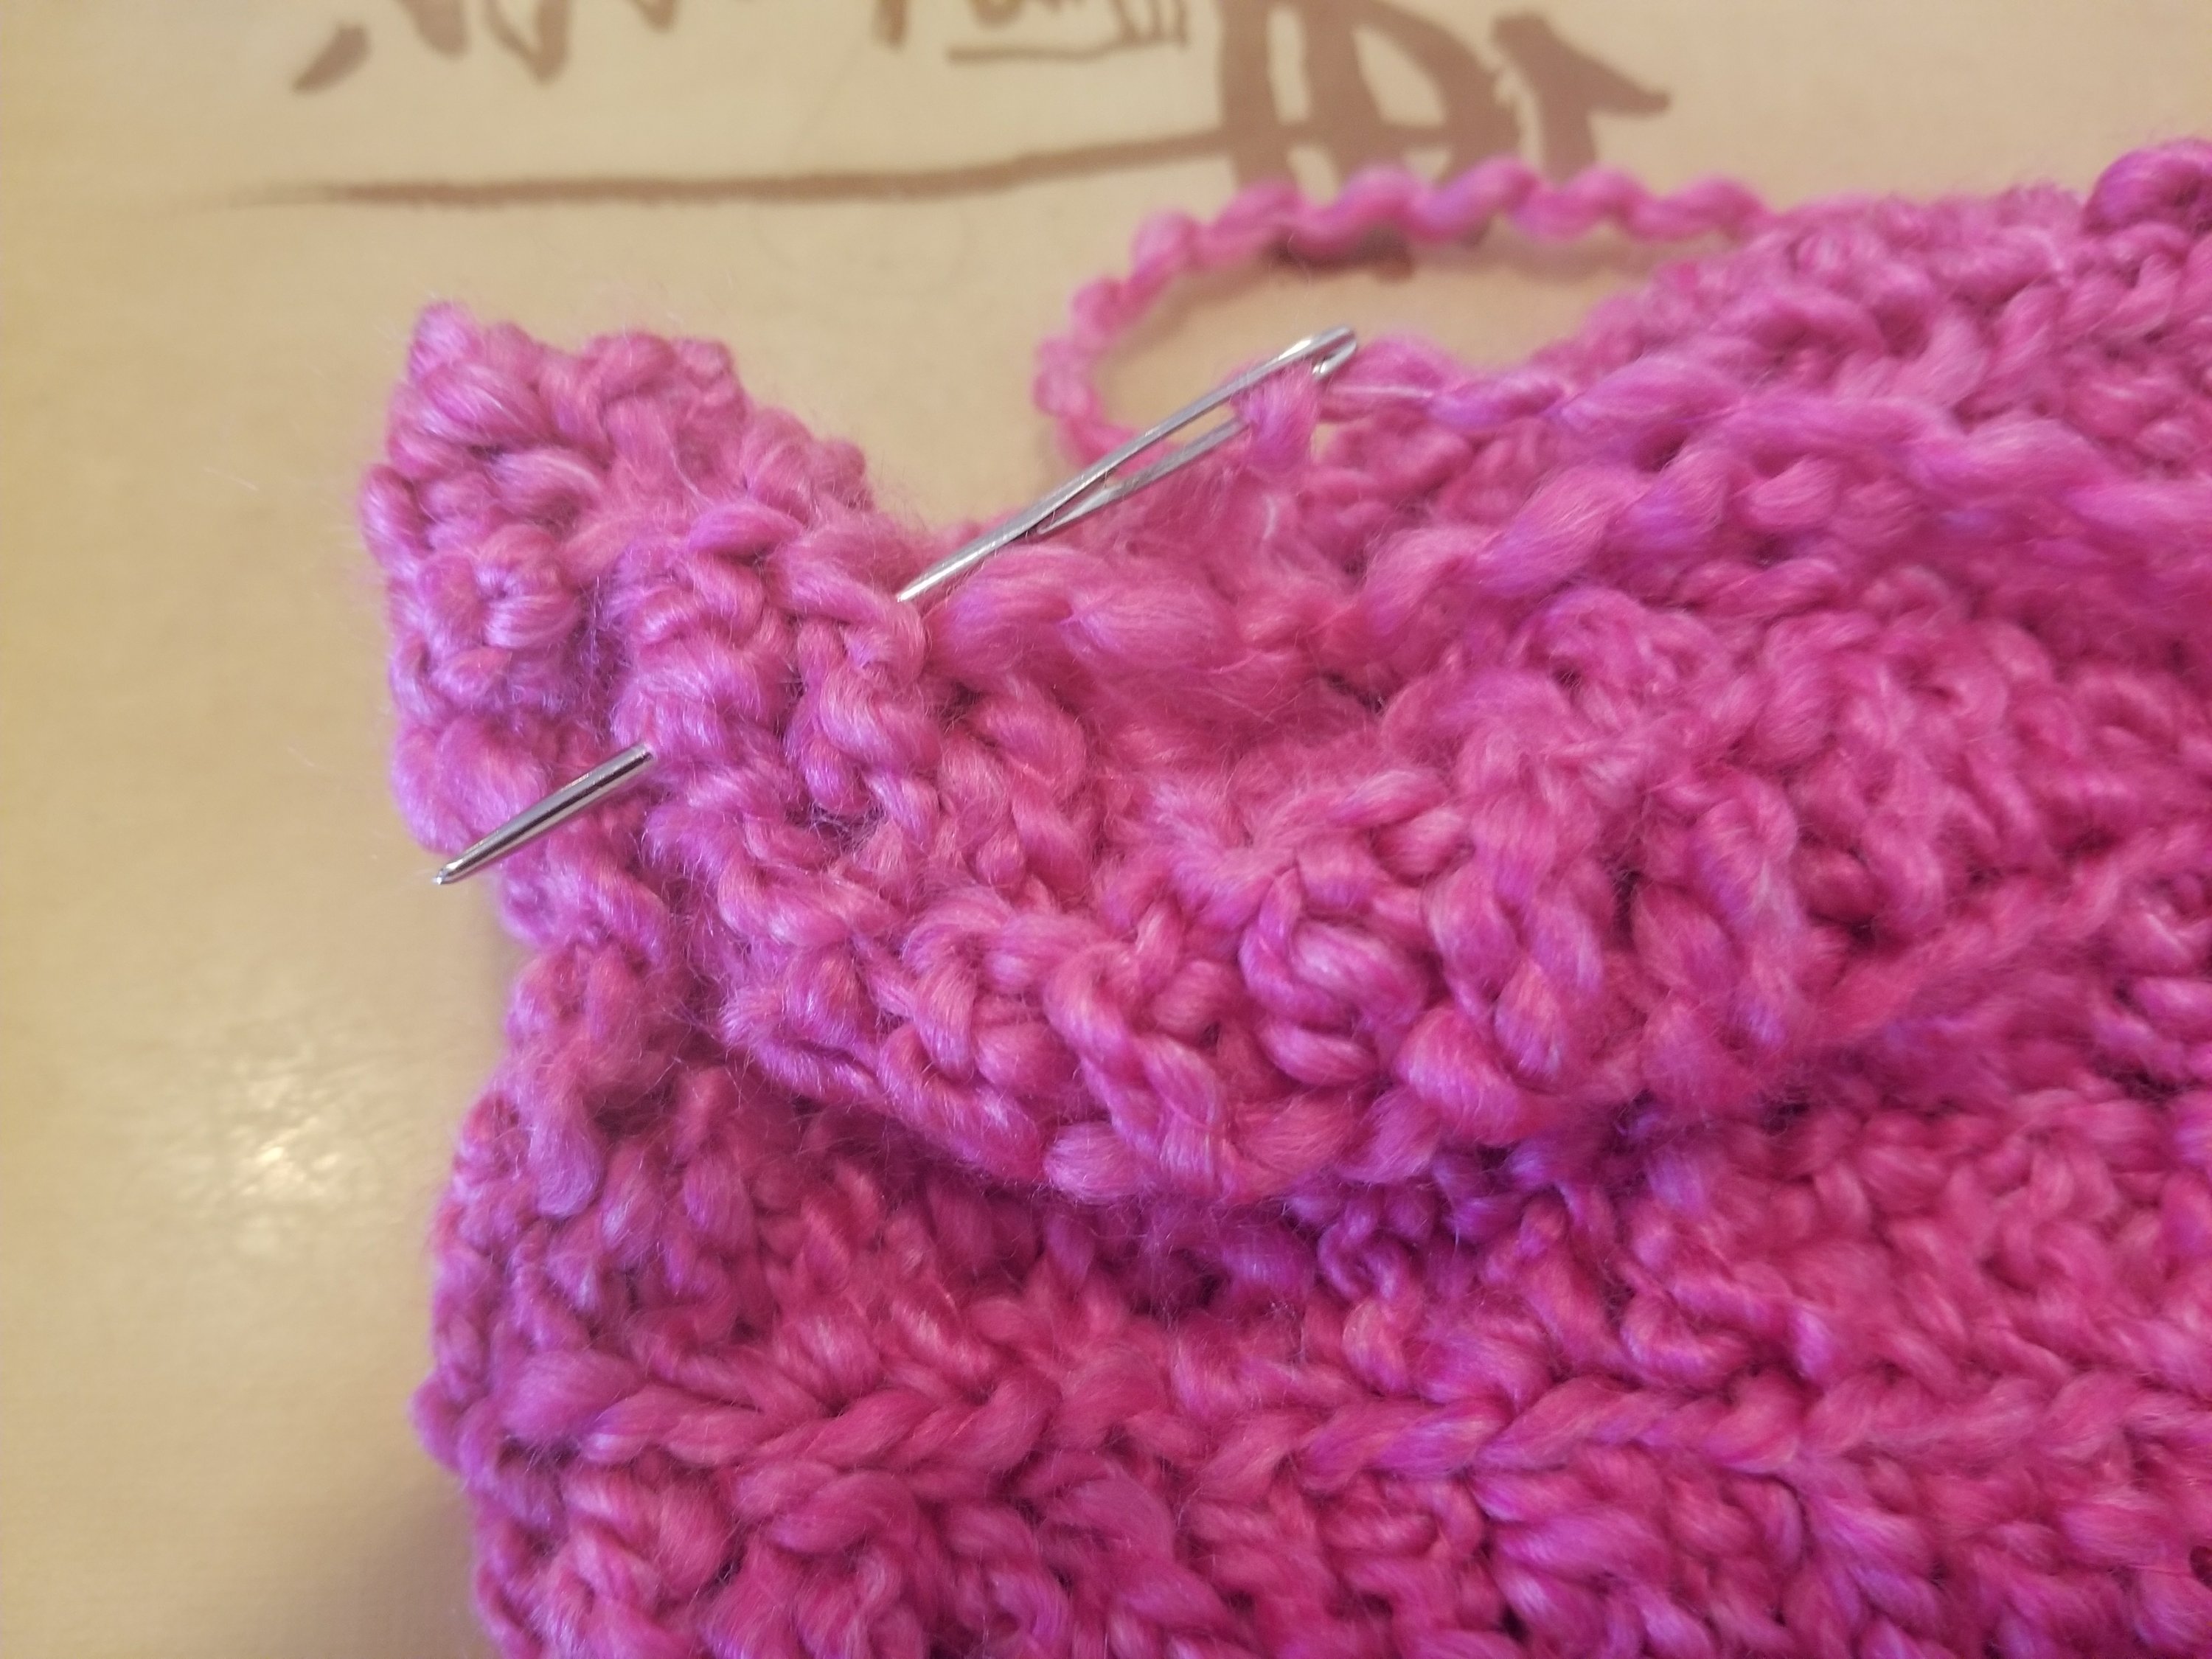
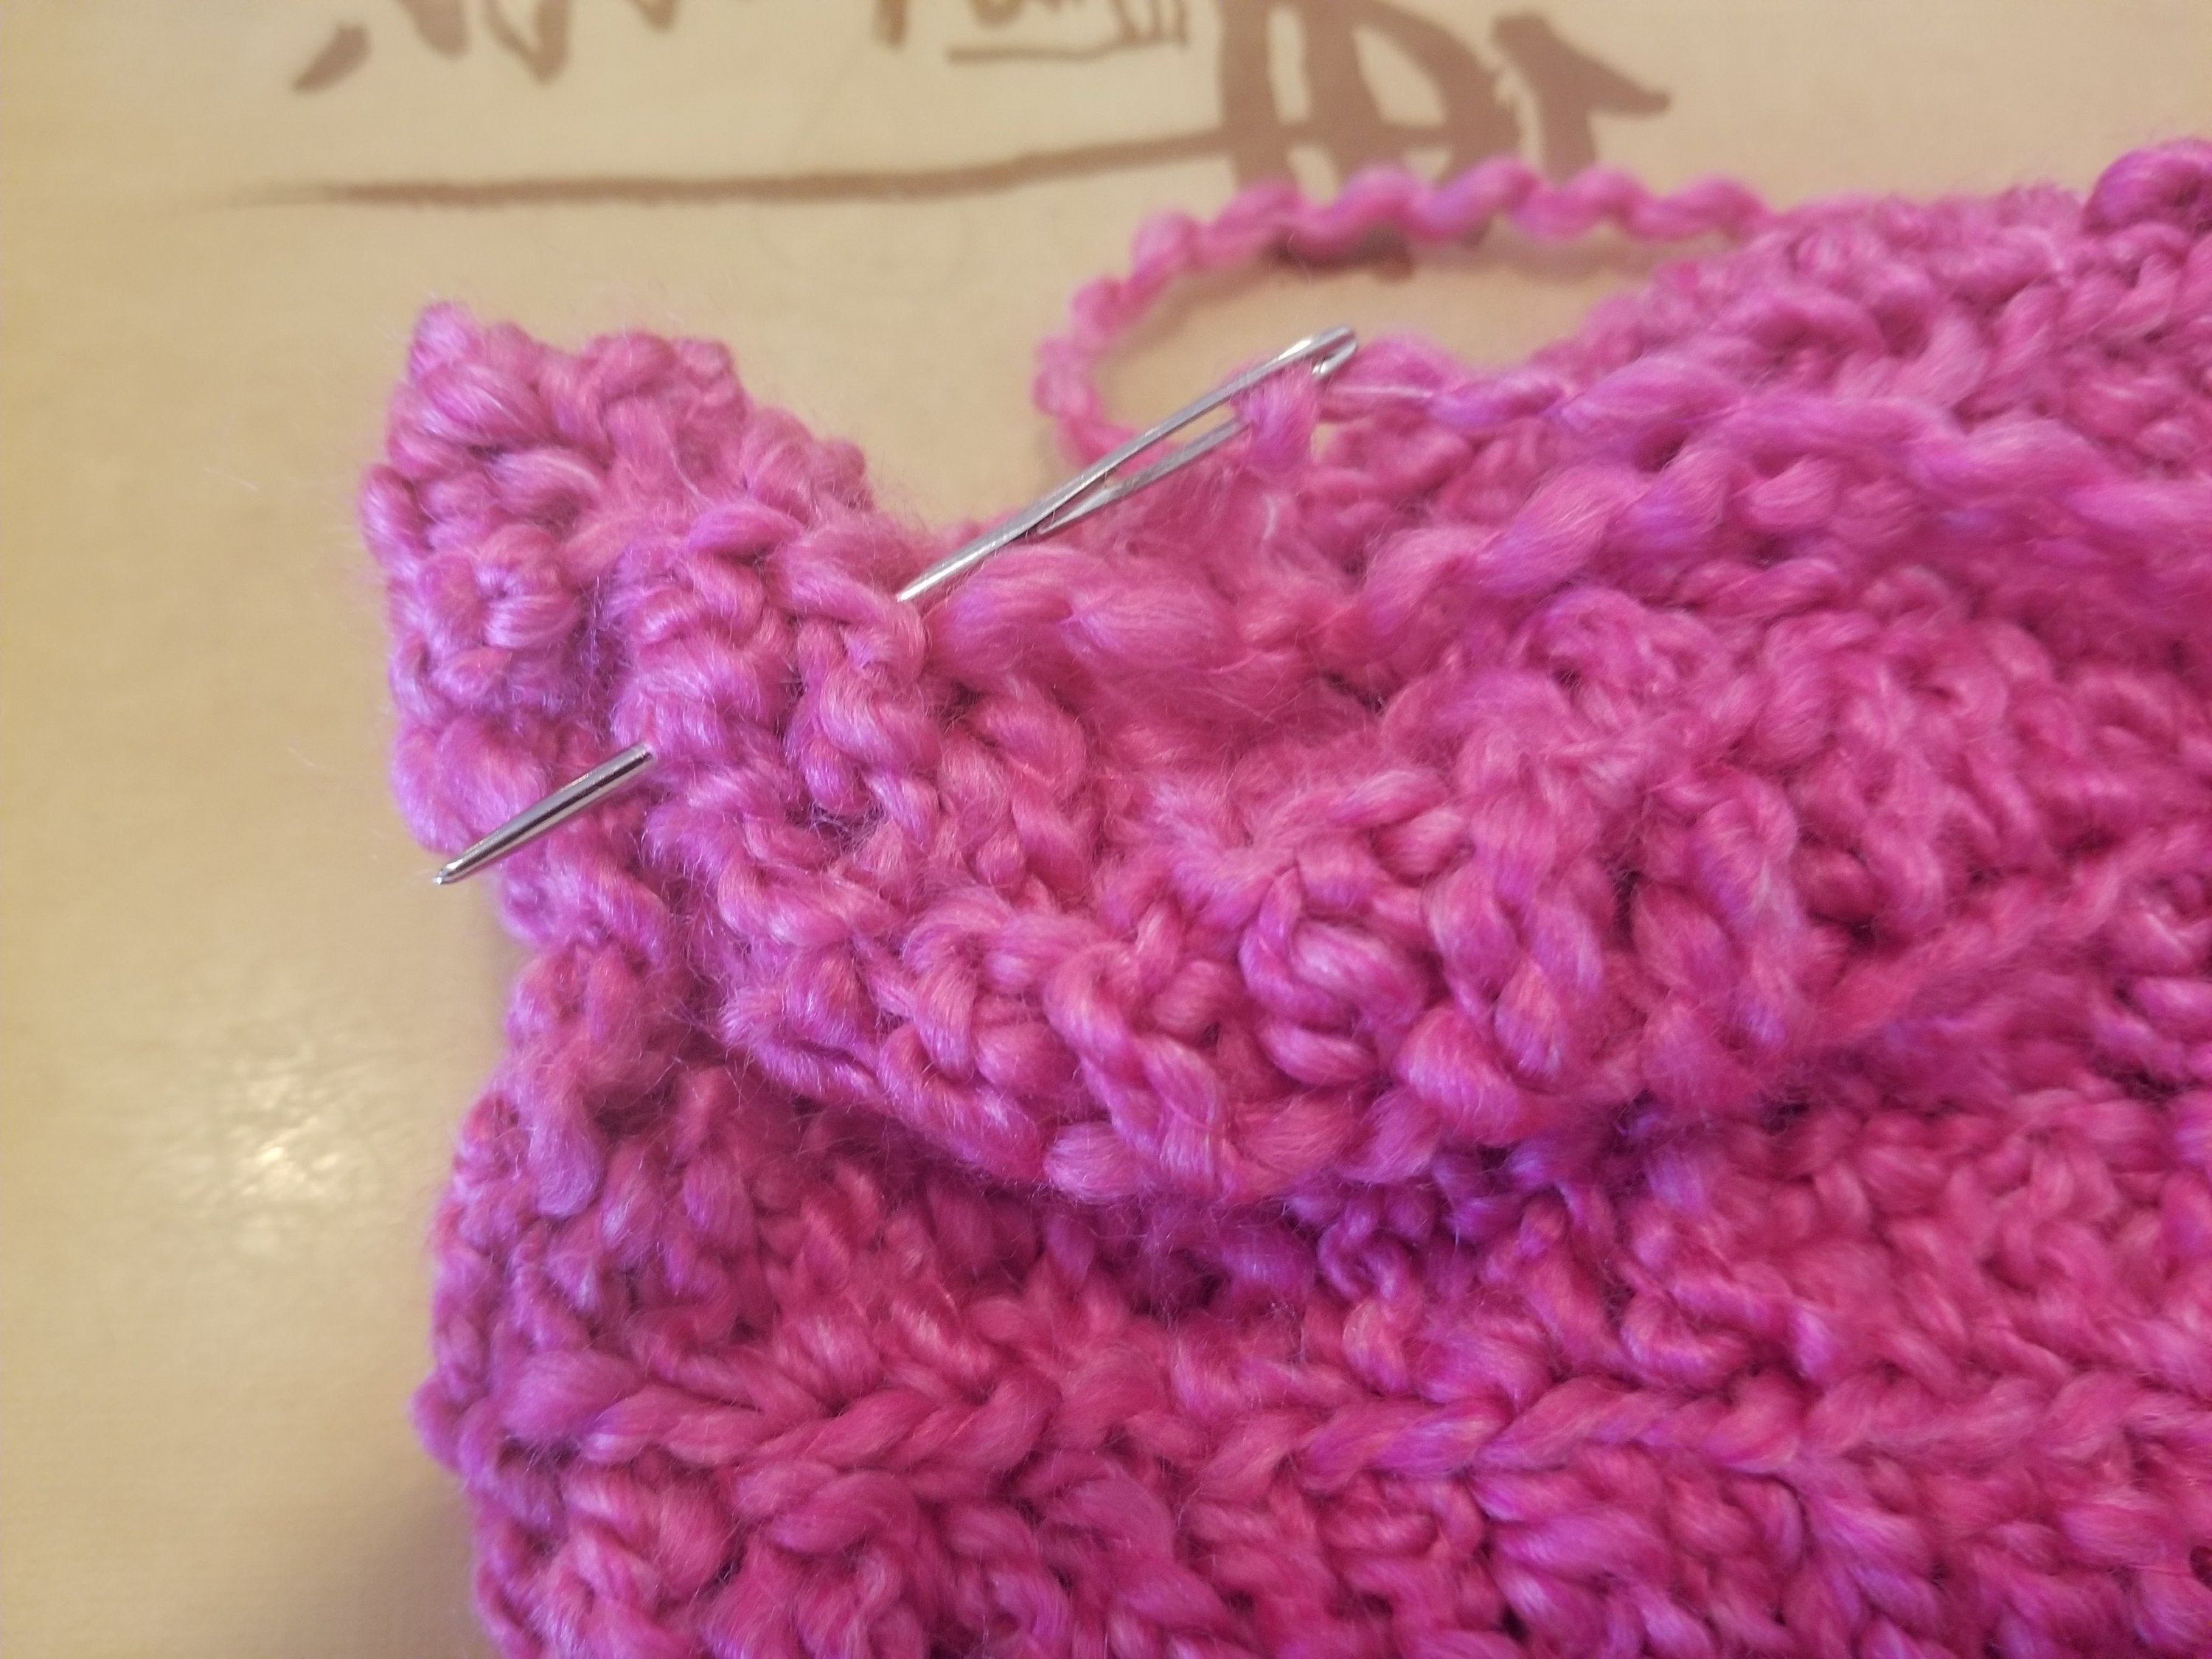
Using your tapestry needle, run yarn from the outside corner (point B) of your triangle to the top (point C), gathering as you go. You can adjust the positioning of the ears to your liking at this stage, but be sure to do so before you tie off the yearn and wave in the ends.
Tie off, finish your project by weaving in the ends for ear 1, then move on to the opposite side to finish the other ear.
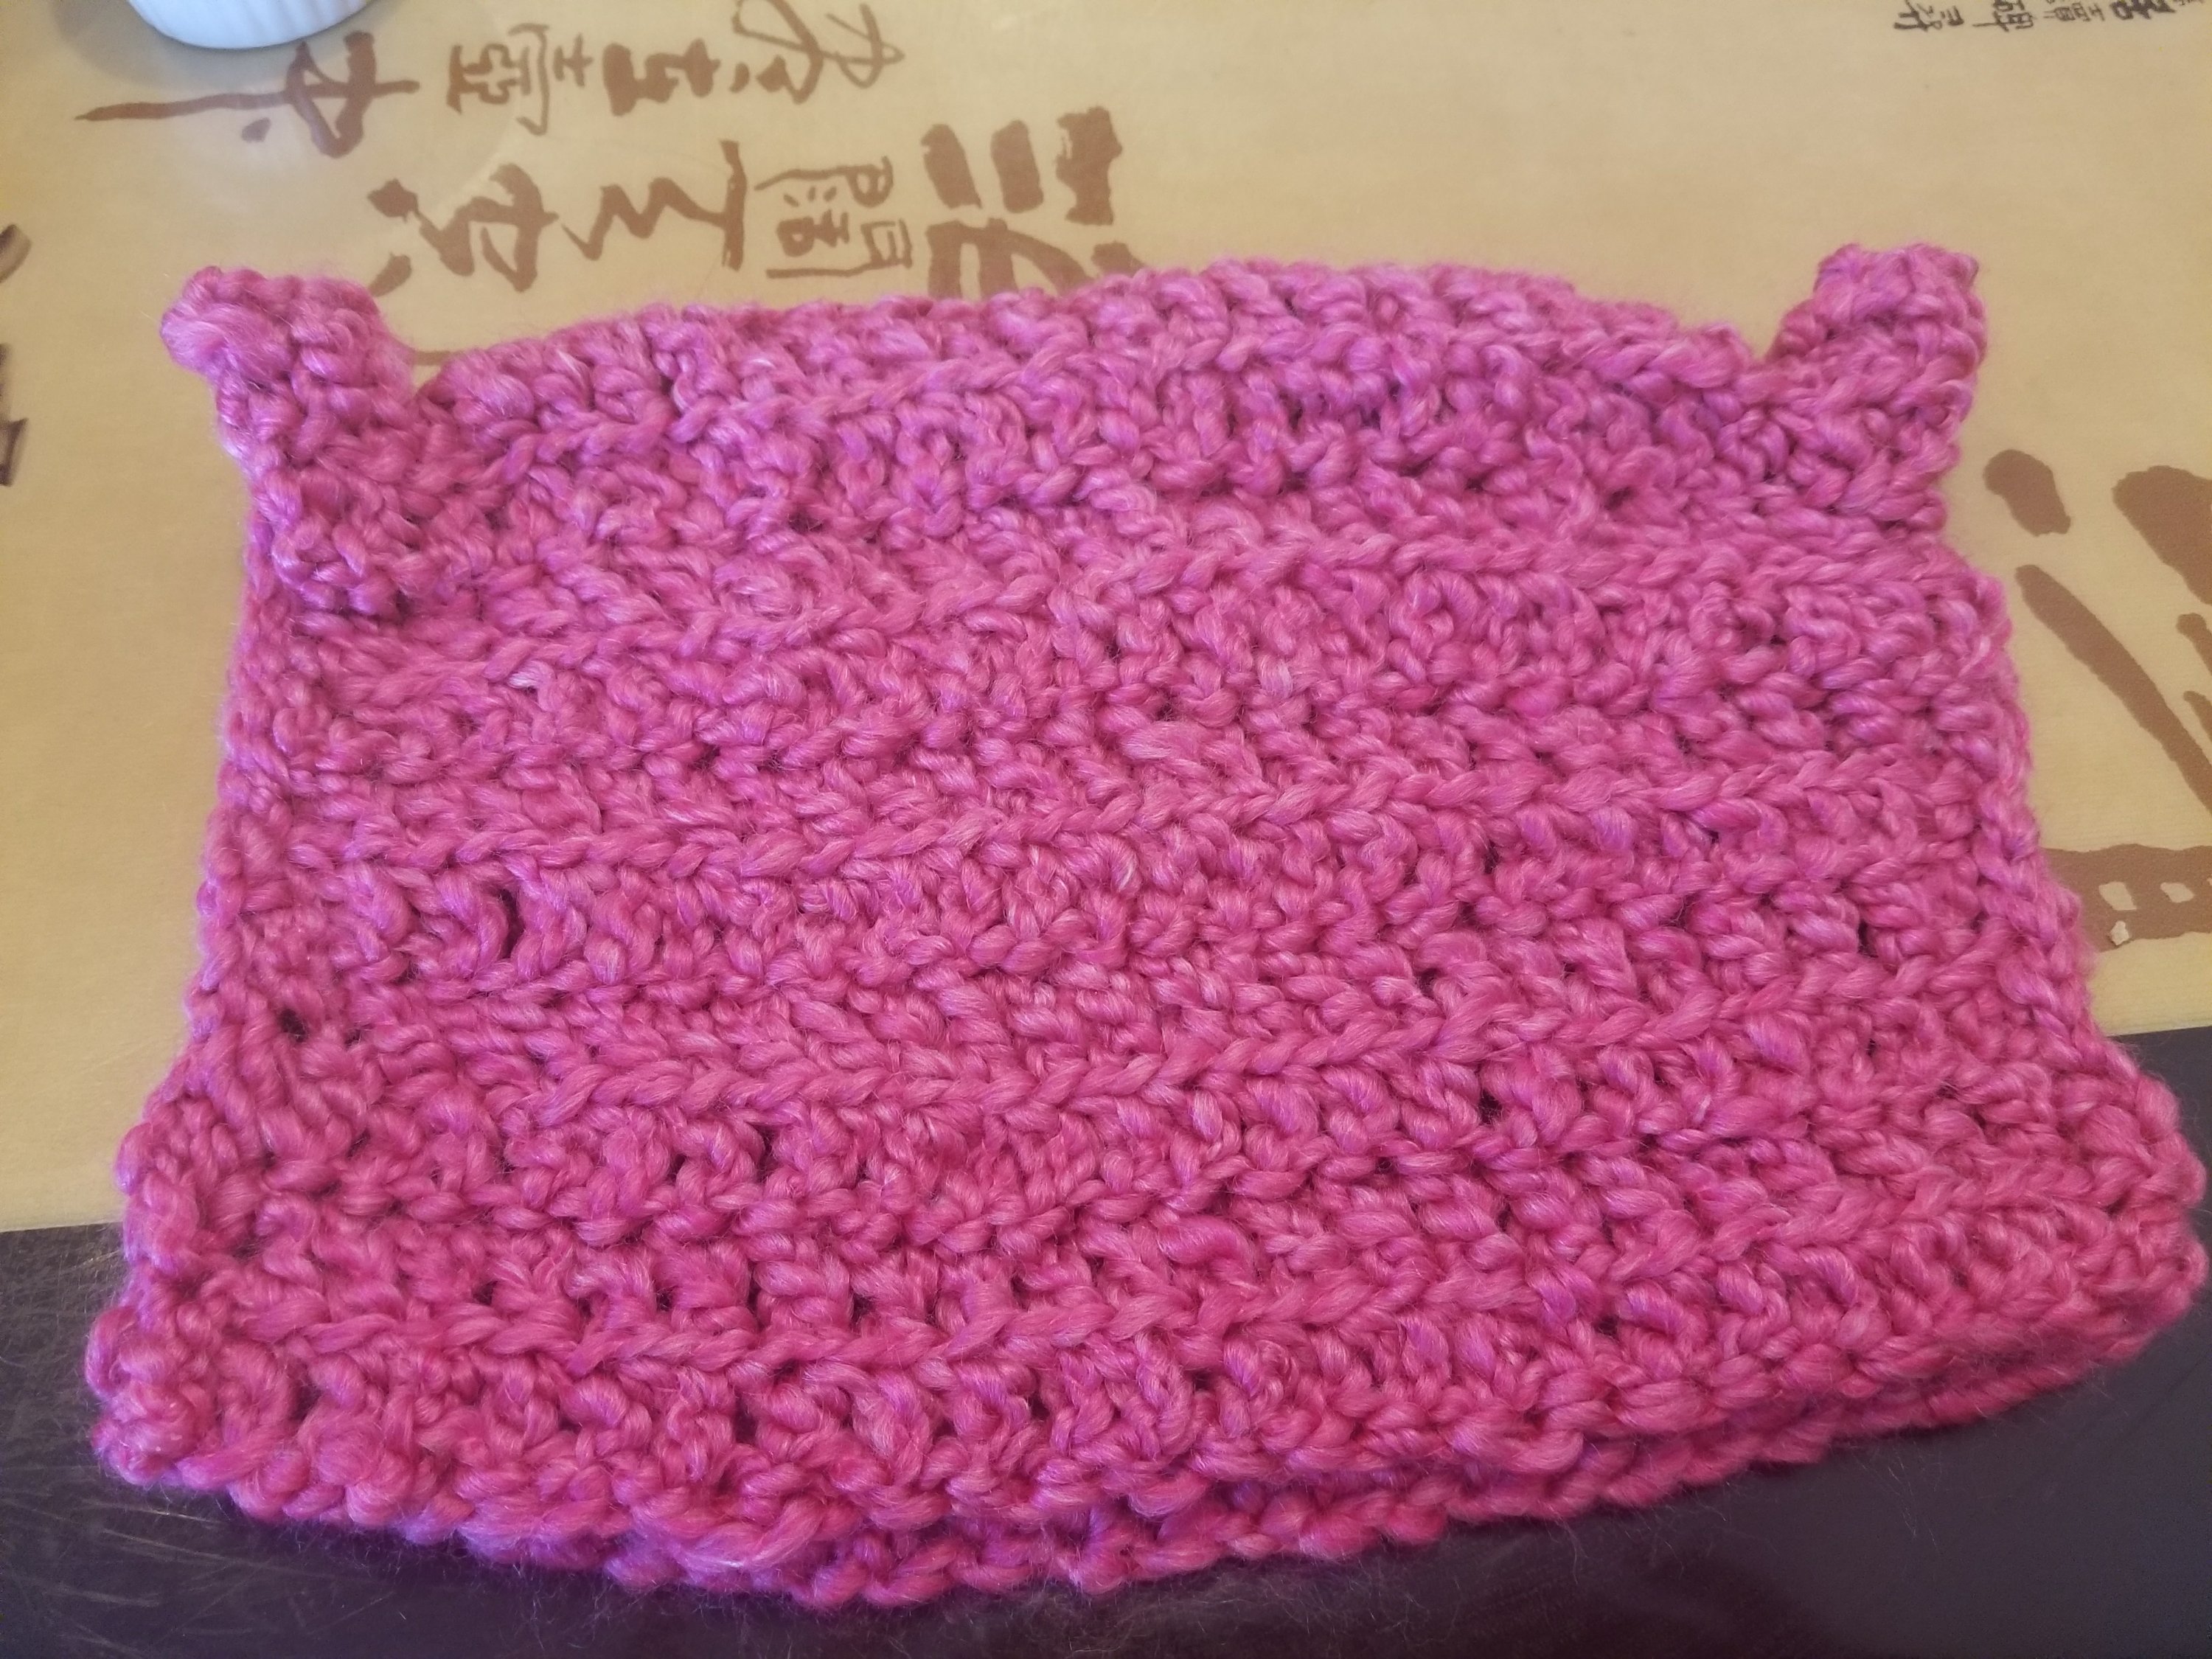
Easy breezy, you have your very own, handmade strong woman hat.
